
Written by Olivera Jancikin, Content Writer
On a rainy day, there’s nothing better than curling up with a book on the couch and relaxing. That is, unless you have a few rambunctious kids who feel cooped up indoors. Standard indoor activities like coloring and playing board games can only be fun for so long.
Learning how to build a DIY pillow fort is the perfect way to help keep kids engaged in an adventure — without ever leaving the house. Plus, a cozy construction can help convince your restless kids that bedtime actually can be fun.
Scrape together a few sheets, blankets, sturdy chairs, and your most best pillows, and you and your kids will have fun for hours. A blanket fort is perfect for everything from sleepovers, to telling spooky bedtime stories. Try bringing some popcorn and a movie into the blanket hideout for extra entertainment. When it’s stormy, freezing, or just any day, this activity is great for those who want to save money and spend time together.
Building a fortress out of cushions is great for parties, too. Prepare our DIY pillow fort kit ahead of time or bring it as a gift to a sleepover party. Here’s what you’ll need to get started on the ultimate fortress of pillows:
Pillow Fort Supplies:
- 1–3 Sheets
- 5+ cushions
- 1 Rope
- 5 Clothespins
- 1–2 Blankets
- At least 2 supports (sturdy chairs, couch, or bed)
How to Build a Pillow Fort
Once you have what you need on hand, it’s time to start building. It may take some time to find the best way to build your ultimate blanket fort, but trial and error is all a part of the fun!
- Choose a Location
You’ll want enough space to make the structure big enough for everyone who plans on getting inside. Don’t forget other factors like entertainment. If you plan on watching a movie, you may want to set up camp not far from a T.V. Another thing to consider is ventilation. It can get warm very quickly inside your construction, so make sure you have a fan or window nearby to let heat out.
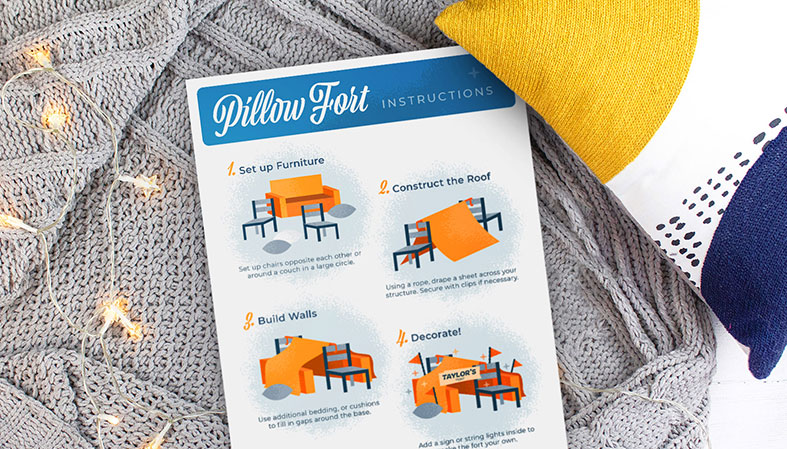
- Set Up Sturdy Furniture
Couches and chairs make great starting pieces. There are two ways to use furniture for your fortress. You can either set two chairs opposite each other, no wider than the sheet you plan to use, or set up near a couch. If you have several pieces of furniture, try to set up them up in a circle.
- Construct Your Roof
It’s best to use your lightest sheet or blanket for the roof so it can support its own weight. If you’re using two chairs, you may want to tie a rope between them, and drape the sheet over it. This will ensure that the sheet does not sag in the middle, and gives the roof the appearance of a tent. If your blanket or sheet tends to slip, use clothespins to secure it to the chairs.
- Build the Walls
Right now, your structure likely has a number of holes and openings. Use additional sheets, blankets, or couch cushions to fill in these gaps. While pillows are easier to place, you may want to use sheets or blankets for these steps, since they can cover a larger surface area.
- Fill With Pillows
The ultimate pillow fort looks imposing from the outside, but is a comfortable retreat inside. Use your remaining pillows and blankets to make the floor of your hideout soft. Try setting the pillows up strategically so you have somewhere to sit and lean.
- Decorate
Now that you’ve built a great blanket fort, it’s time to take it to the next level and let your child make it their own. There are tons of ways to decorate your masterpiece, only limited by your imagination. Keep reading for some decorating ideas:
How to Decorate Your Fort
A blanket fort is a great way for your child to express themselves and explore their individuality. This space will be their own, so encourage them to decorate it as they see fit. For the inside, add cute or decorative cushions in a nice arrangement, or hang some lights from the chair’s rope. You can also bring stuffed animals or other toys or games into the soft sanctuary to keep your kids busy for hours.
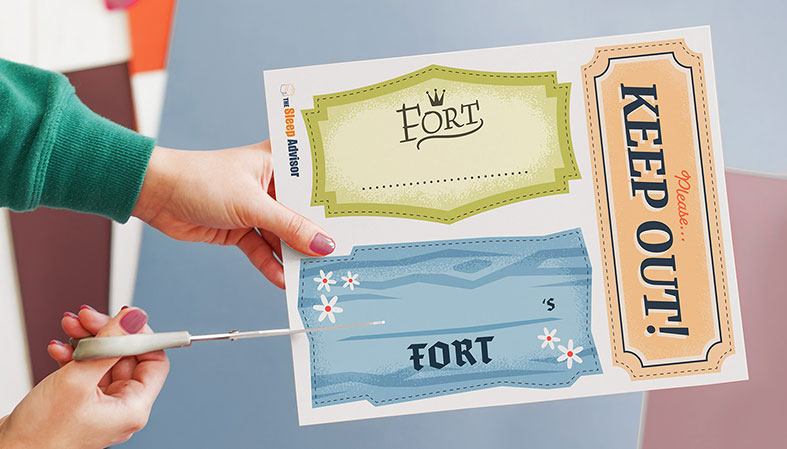
To let everyone know who the construction belongs to, try printing out some cute signs with your child’s name. Or, give the fort a name and display it for all to see. You could have your child cut out signs or print them out from our kit. You can turn any extra scraps of fabric into cool banners and flags, while ribbons make lovely interior decor.
How to Make A Pillow Fort Kit
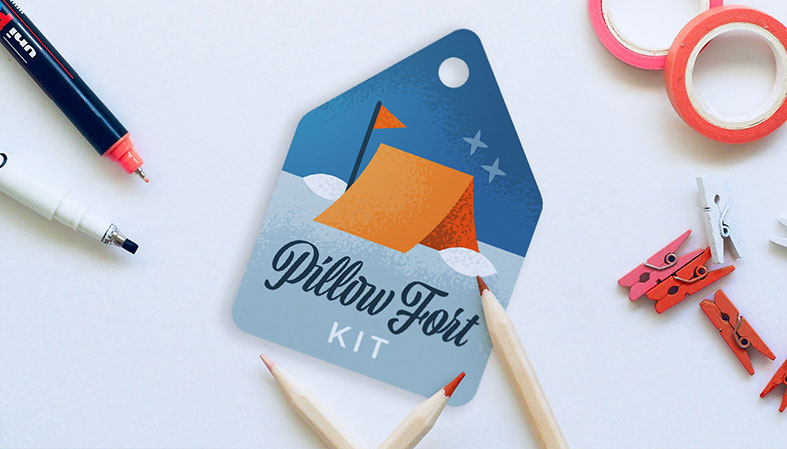
With just a little preparation, you can put together a kit that makes creating a cozy castle easy for any occasion. From rainy days to birthday parties, every kid enjoys building something that is their own. Plus, this makes a great gift that goes the extra mile — without breaking the bank.
You’ll just need a bag to place the items in and a few additional essential supplies. Provide a sheet, rope, and clothespins. You or the receiver of the pre-made kit can use their own pillows and furniture when they decide to break it out.
For an extra nice touch, print out a sign with your child’s name, or the name of the recipient, and include it for decor in the kit. The only other thing your kit needs is a gift tag and simple instructions. We provided these for you below. Just click download below to access the gift tags, instructions, and decor you need to build the ultimate pillow fort.


Olivera Jancikin
Content Writer
About Author
Olivera is a content writer for Sleep Advisor and is enthusiastic about sleep. She firmly believes in the benefits of daytime naps on top of getting a full 8-hour sleep at night.
Combination Sleeper